IN THIS GUIDE
RENOVATION GUIDE — PREPARATION FIRST
A good finish
is decided
before it starts.
Over about 15 years of hands-on residential work, the lesson I come back to most is simple: proper preparation is often more important than rushing to a finished appearance. This guide explains, in general terms, what sits underneath tiling, flooring, plastering and painting, and why it decides how long the finish lasts.
01 — SURFACE
The surface
isn't the job.
Almost every finish in a home, whether it’s a tiled wall, a new floor, a set plaster ceiling or a fresh coat of paint, is only as good as what it’s fixed to. A tile can look perfect on the day it’s laid and still crack months later if the floor underneath moves. Paint can peel if it goes over dust, moisture or a flaky old coat. Plaster joints can show through if the board wasn’t fixed properly.
That’s why I’d rather spend time checking, cleaning, levelling and repairing than hurry towards something that only looks finished. It takes longer at the start, but it’s the part that decides whether you’ll be looking at the same problem again in a year.
When I come out for a free site visit, I’ll explain what I think needs doing, why I’m recommending that approach, and what limitations might affect the work. You deal directly with me, so the person who assesses the job is the same person responsible for organising it.
02 — FOUR FINISHES, ONE RULE
SERVICE 01 — TILING
Flat, sound and ready to bond.
Tiles need a substrate that’s firm, clean and flat enough for the adhesive bed to work as intended. In wet areas, the waterproofing underneath matters as much as the tiles. Loose or hollow old tiles and uneven floors are dealt with before anything new goes down.
SERVICE 05 — FLOORING
Level before laying.
Most floor coverings follow whatever is underneath. Dips, high spots, moisture and movement in the subfloor tend to show up later as gaps, bounce or lifting edges, so checking and levelling the base comes first.
SERVICE 06 — PLASTERING
Fixed firmly, set in stages.
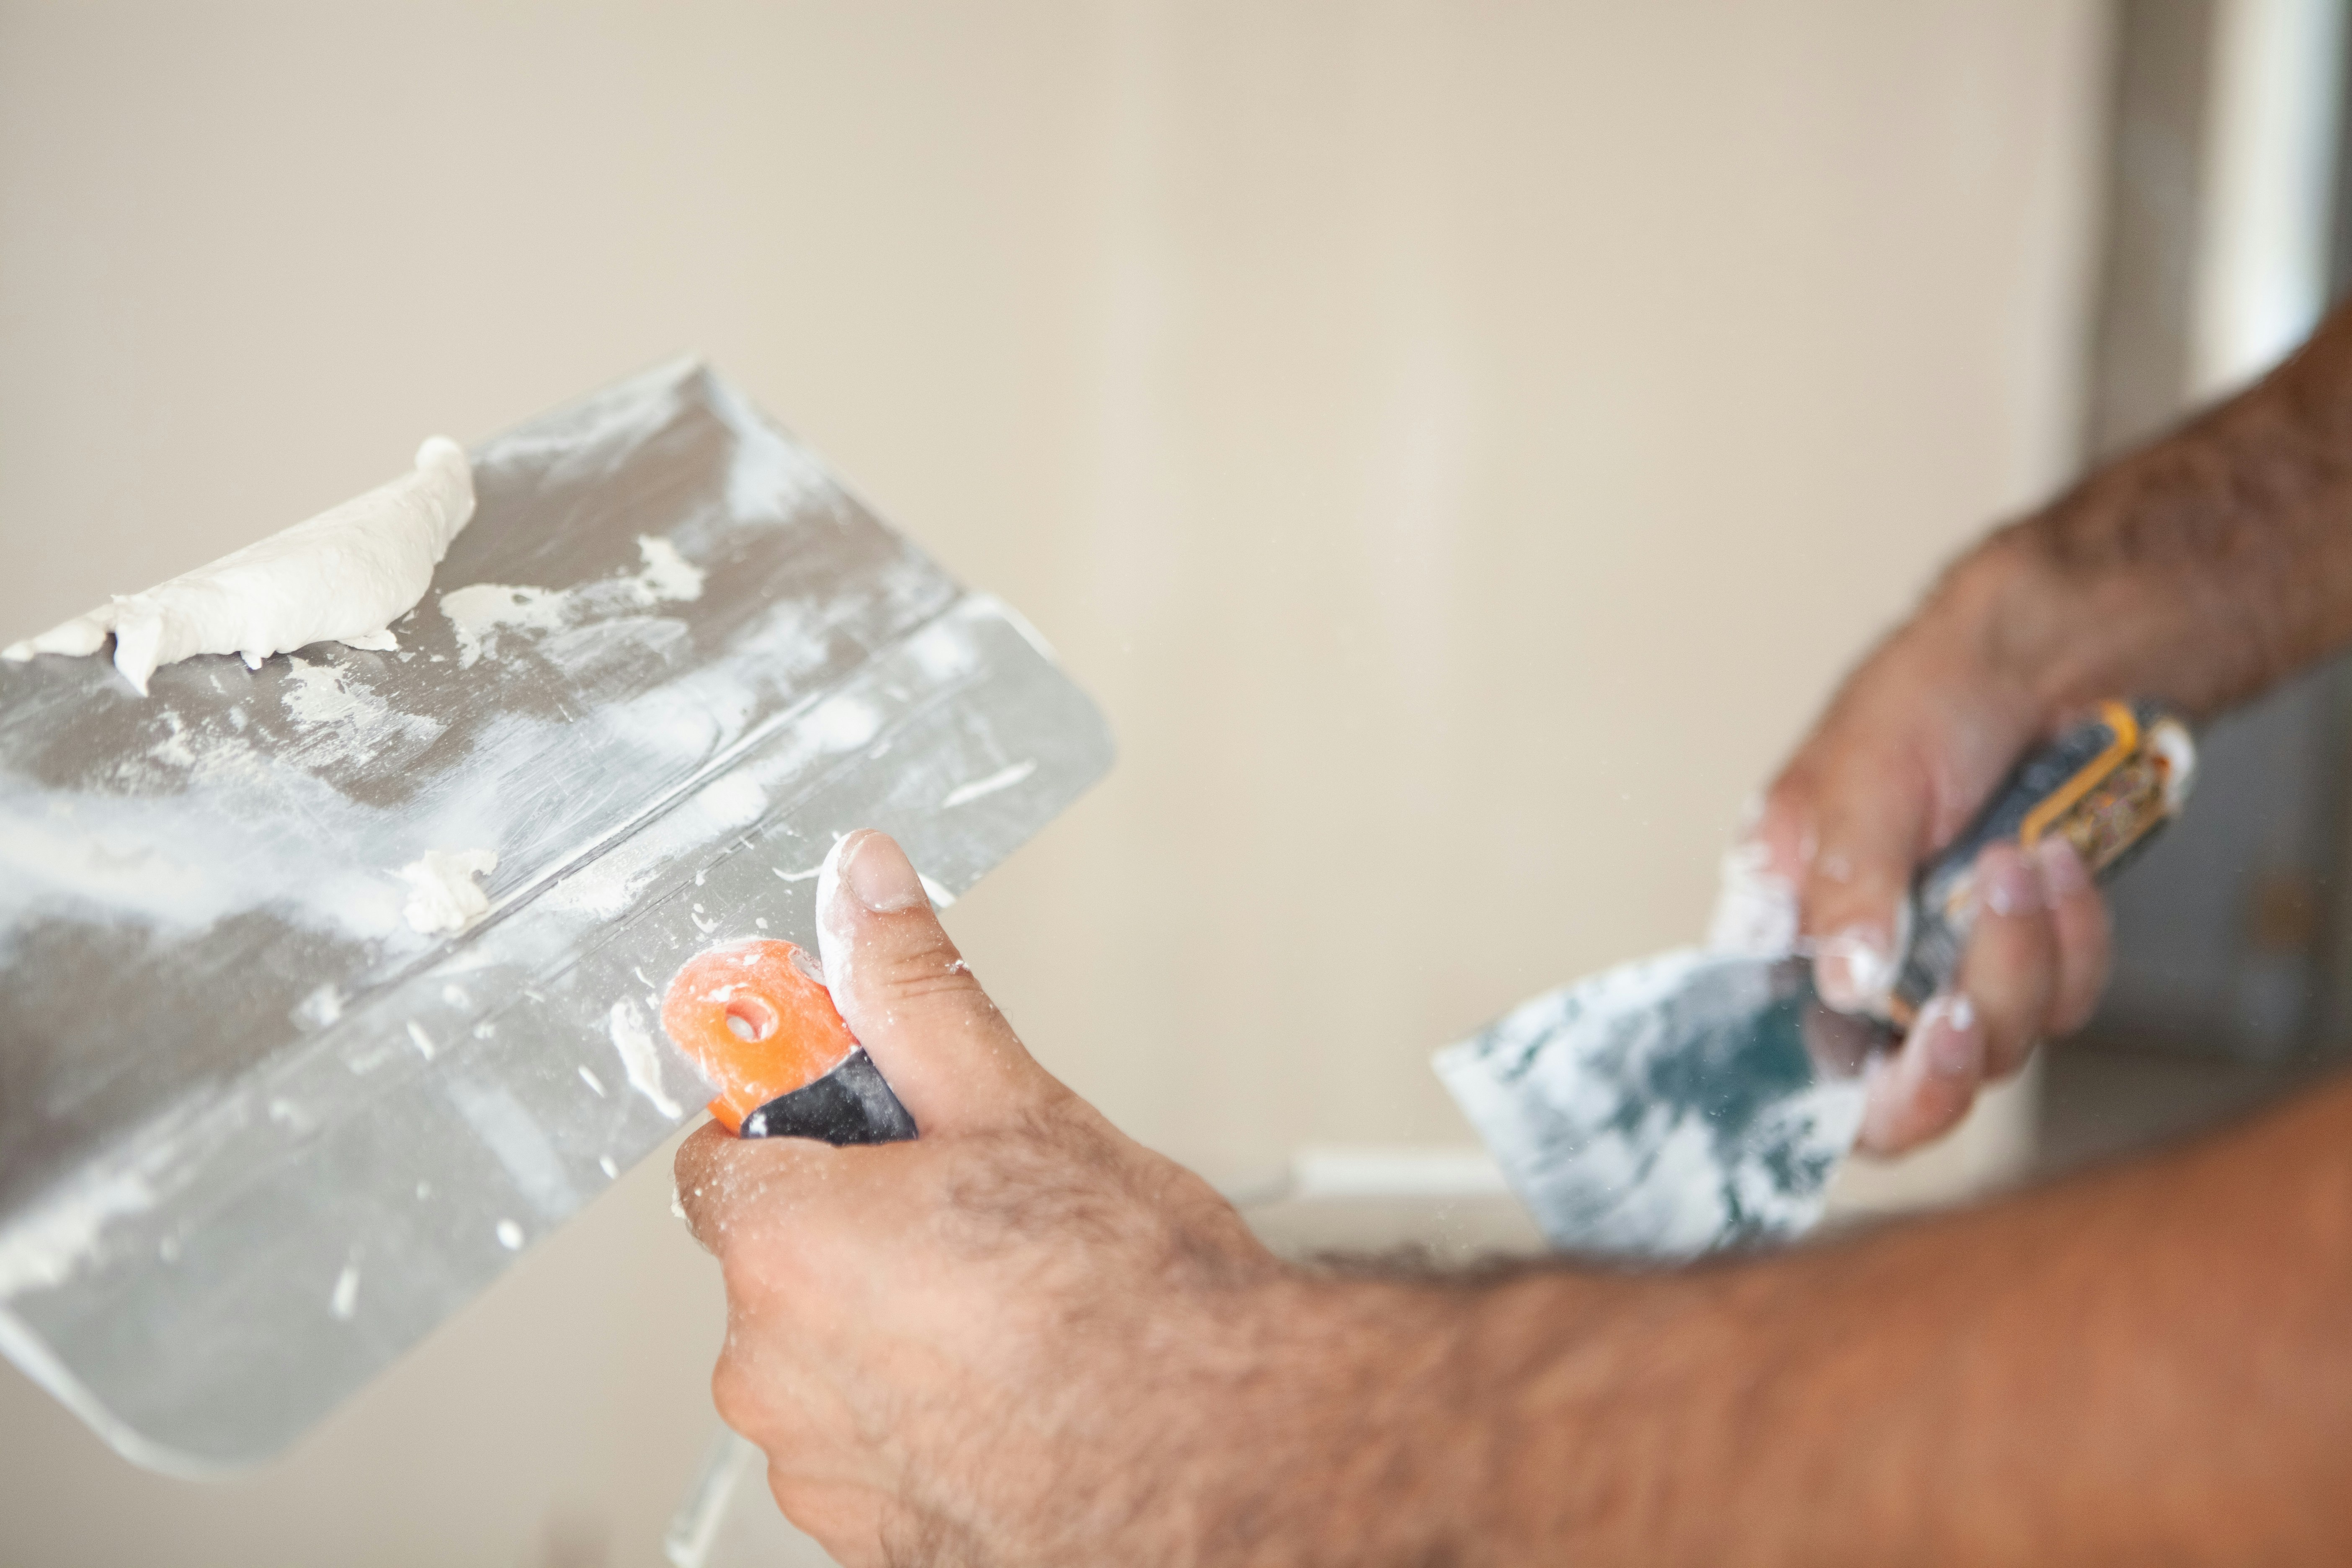
Plasterboard relies on secure fixing to the frame and joints that are taped and set coat by coat. Rushing the setting coats or skipping the sanding usually leaves lines that show through paint, especially in raking light.
SERVICE 07 — PAINTING
Clean, repaired, primed.
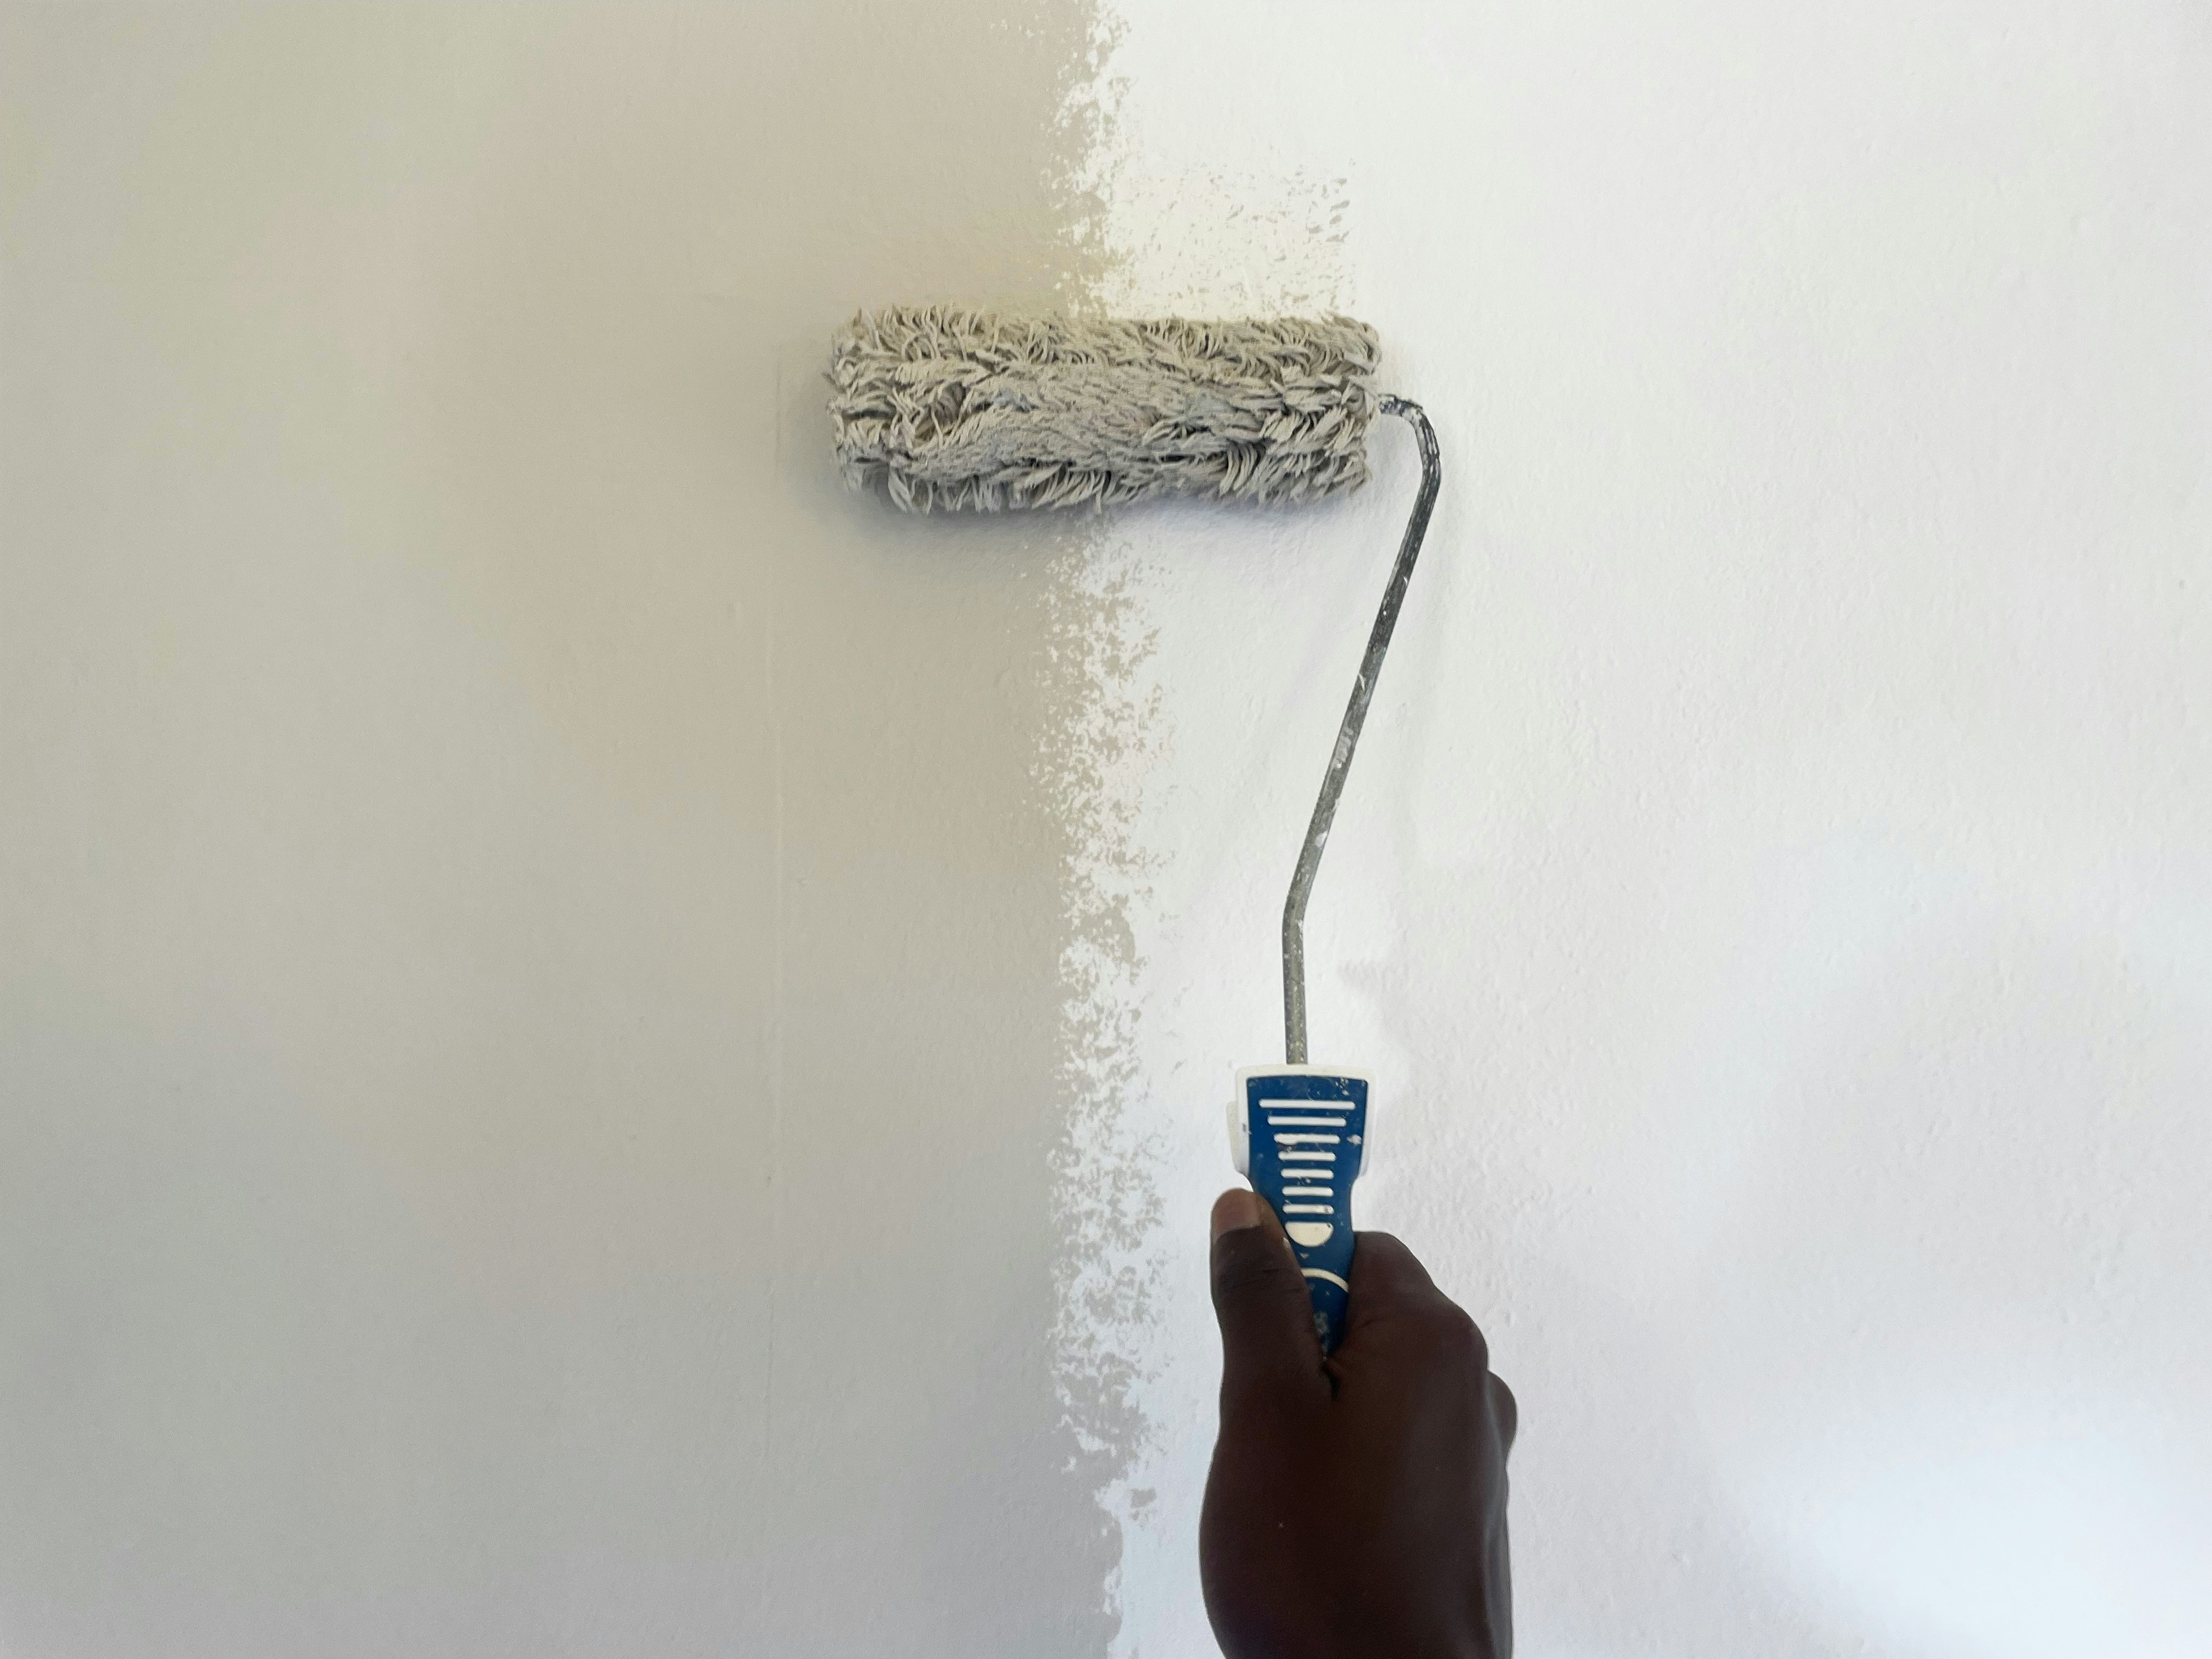
Paint shows up the surface rather than hiding it. Filling cracks, sanding, cleaning and priming where needed is what lets a top coat adhere and look even. Exterior surfaces also need to be dry and sound first.
03 — ASSESSMENT
Why it depends
on your property.
No single preparation method suits every home. The right approach, materials and scope depend on the property’s existing condition and what an on-site assessment shows. An older bathroom may hide water damage behind the tiles, while a newer floor may only need minor levelling. Some things only become clear once old finishes come off.
Quotes are based on the agreed scope and the conditions reasonably identifiable during inspection. If something hidden turns up once work begins, I’ll explain what it is and what it means for the job.
04 — BEFORE YOU GET IN TOUCH
Show me what's
underneath.
A text message with a few photos is the easiest way to start. It gives me an early sense of the existing condition before the free site visit.