WORK IN PROGRESS — RENOVATION STAGES
The part of
the job you won't
see later.
Over about 15 years of hands-on residential work and more than 1,000 completed projects, the finished surface has always been the last layer to go on. This page goes through the stages underneath it: substrate, membrane, adhesive bed, setting out and finishing. Your job will go through the same stages, so they’re worth asking about when I come out for the free site visit.
completed renovation and improvement projects
WHY STAGES, NOT SHOWROOMS
A thousand jobs,
one order of work.
A photo of a finished bathroom can’t tell you whether the wall behind it was flat, whether the membrane was taken properly into the corners, or whether the tiles were fully bedded. Those things only show up months or years later, as cracked grout, hollow tiles or a damp patch on the other side of the wall.
THE STAGE LEDGER
Five stages,
bottom to top.
STAGE 01 — SUBSTRATE
Is the surface sound, flat and dry enough?
Old tiles, drummy render, soft plaster, an uneven slab. I check level with a straightedge, look for movement and moisture, and work out what has to come off or be repaired before anything new goes on.
STAGE 02 — MEMBRANE
In wet areas, the waterproofing does the real work.
In a bathroom or laundry, the tile isn’t what keeps water out. The membrane under it does, and so does the way it’s taken into corners and joints and around every penetration. Where the job involves plumbing changes, that work is coordinated with appropriately licensed plumbers.
STAGE 03 — ADHESIVE BED
Full coverage, not spot-fixing.
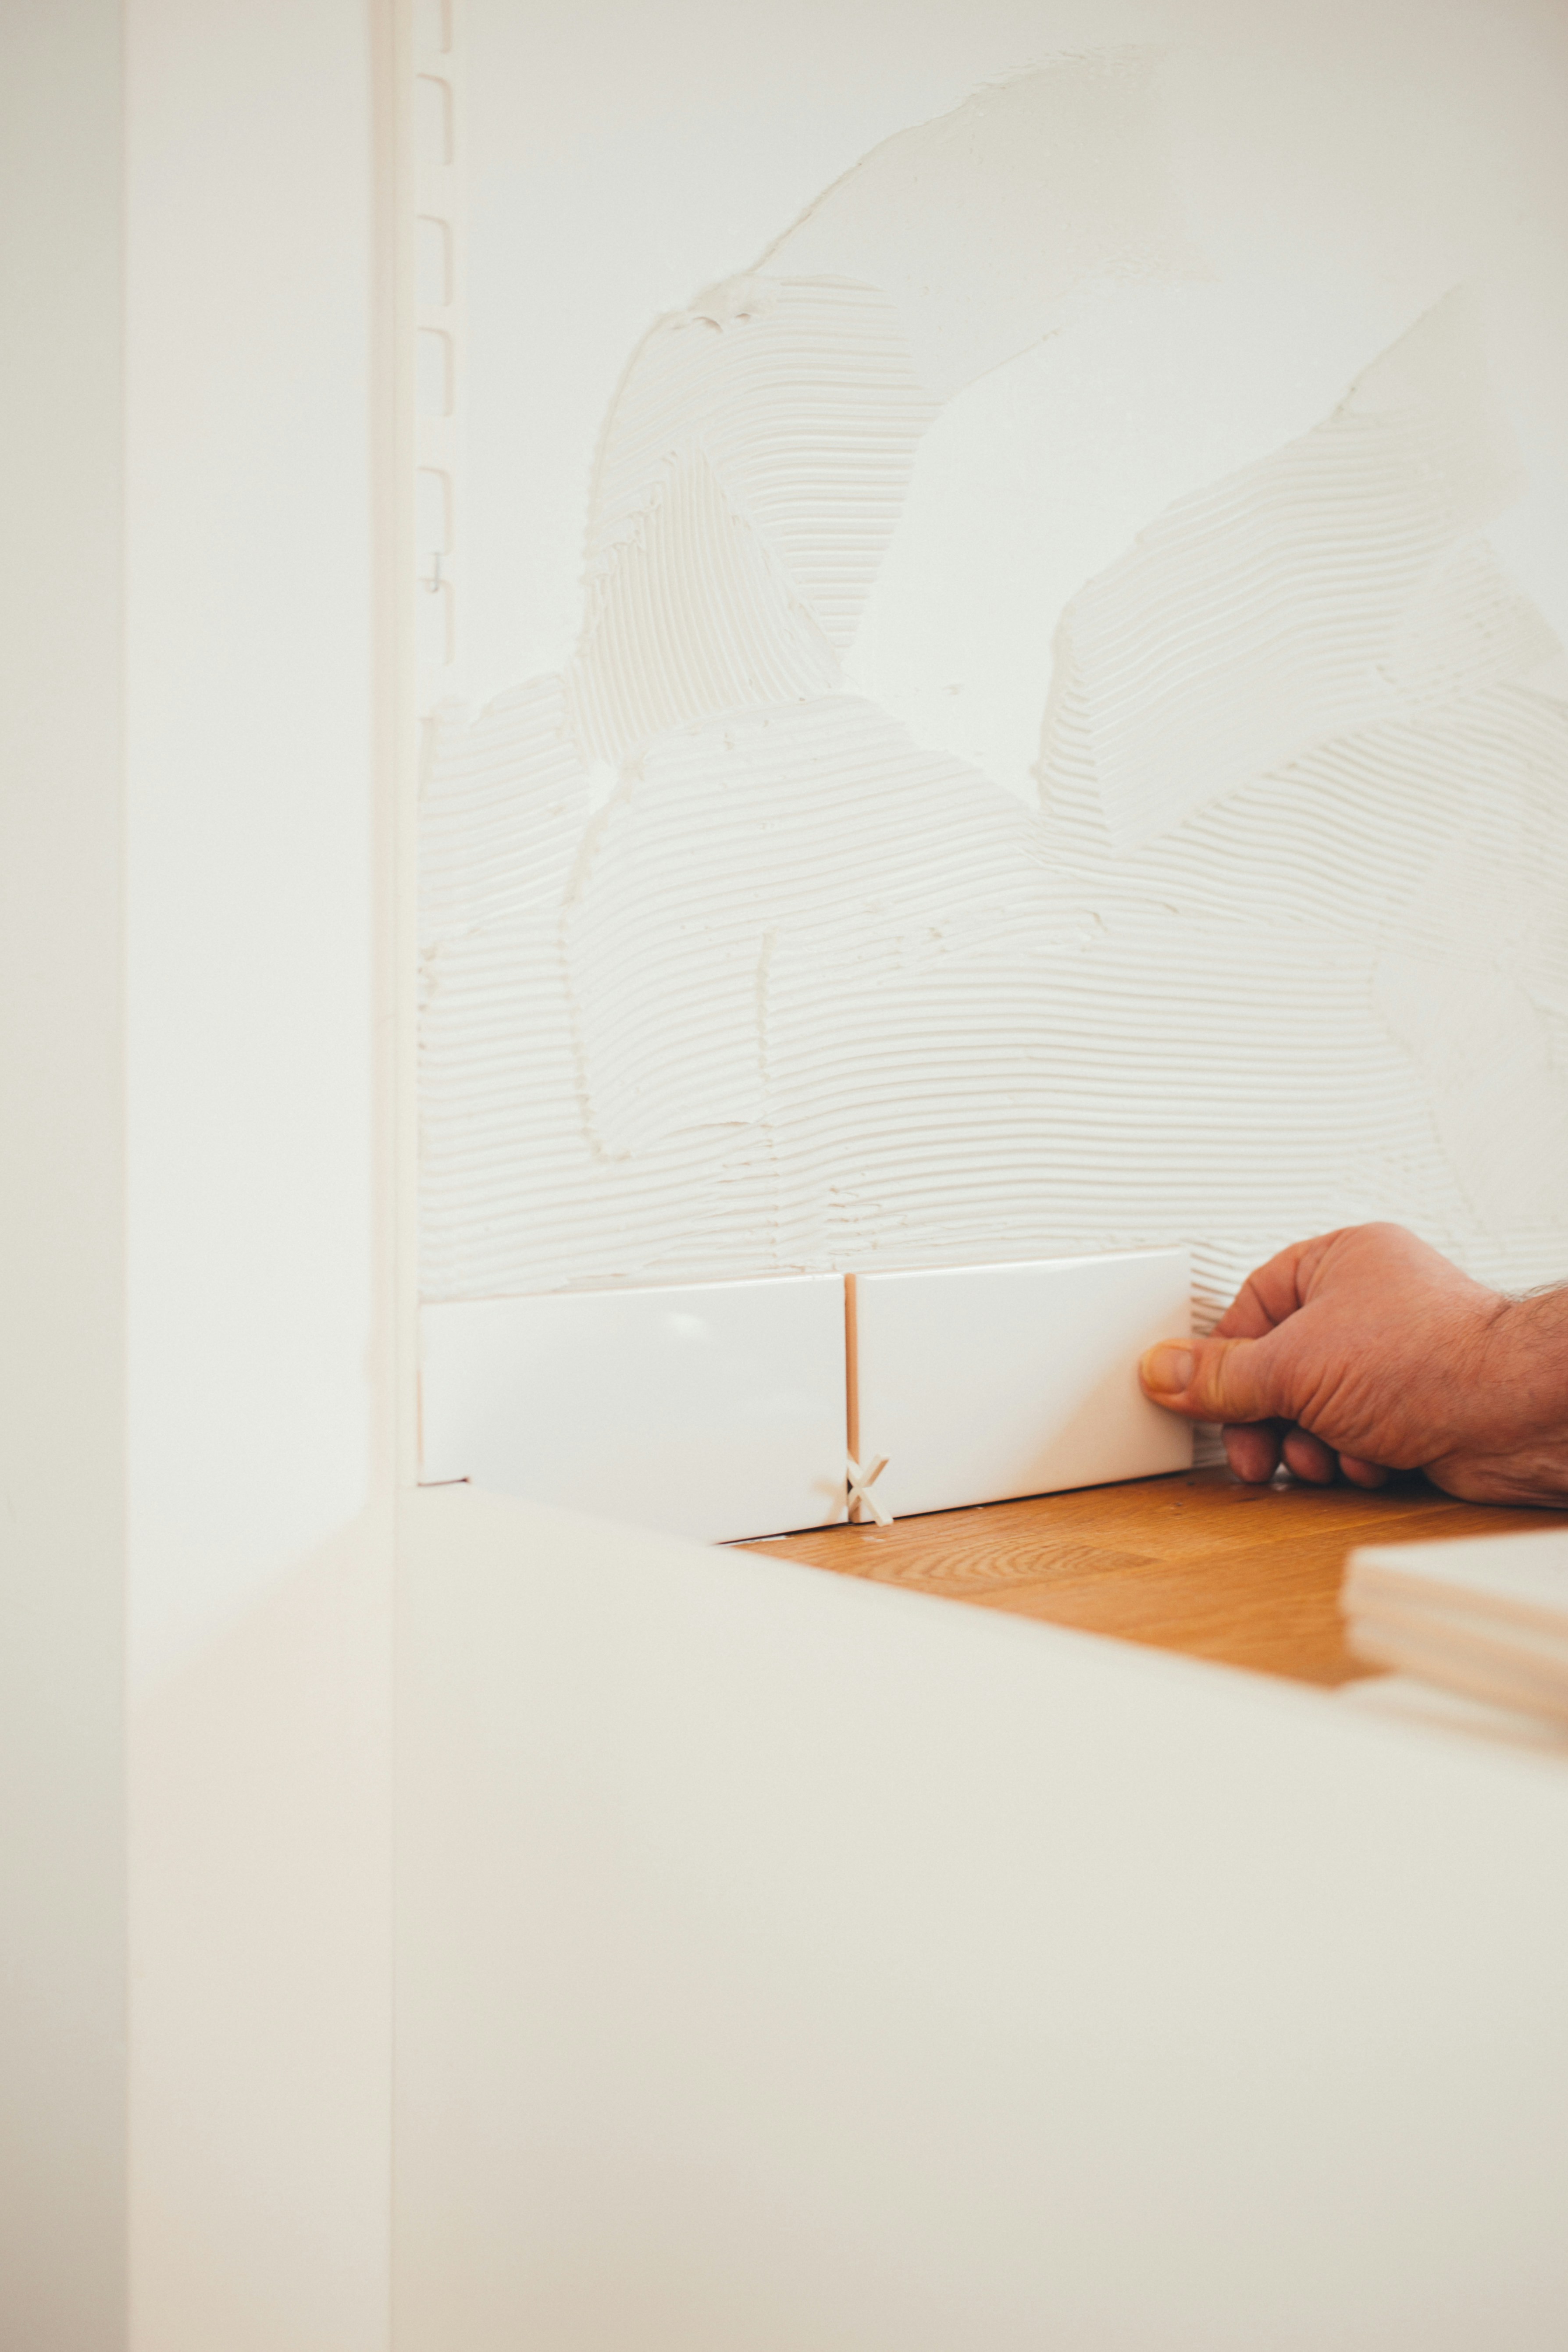
The adhesive is combed out with a notched trowel that suits the tile size, and each tile is bedded firmly. That way there are no hollow spots left to crack later under load or when the temperature changes.
STAGE 04 — SETTING OUT
Where the cuts land is decided before the first tile.
This means setting centre lines, working out the falls to the waste on floors, and planning where the cut tiles will sit. Done properly, the edges, niches and fixtures finish evenly instead of with thin slivers.
STAGE 05 — FINISHING
Grout, sealant, clean-up: the layer you see.
Even grout lines, flexible sealant where surfaces meet or move, and a tidy handover. It’s the part everyone notices, and it only looks right when the four stages under it were done properly.
Every property starts from a different place. The right method, materials and scope depend on the existing condition and on what the on-site assessment finds.
Reference photo: an interior opened up to the framing, before any sheeting goes on. Electrical work at this stage is carried out by licensed electricians.
ASK AT THE SITE VISIT
What's under
the existing surface?
Ask me what I expect to find under the old tiles or flooring, and what happens if it turns out worse once it’s opened up. My quote is based on the agreed scope and on the conditions I can reasonably identify during the inspection.
Where will the water go?
Who handles the licensed work?
WHERE THESE STAGES SHOW UP
BEFORE YOU GET IN TOUCH
What to Photograph When Asking for a Quote
Questions Homeowners Ask
Service Area — Melbourne and Surrounding Suburbs
Got a job at one of these stages? Send me a text describing it, ideally with a few photos or a short video, and we can talk it through at a free site visit.