05 — FLOORING INSTALLATION
A flat floor
starts below
the floor.
Flooring installation for homes across Melbourne and surrounding suburbs. Before any new floor goes down, I check the slab or subfloor underneath for level, movement and moisture, because that’s what decides how the finished floor looks and performs. You deal directly with me from the free site visit onwards.
LAYER 01 — WHAT YOU WALK ON
Most floor problems
start underneath.
After about 15 years of hands-on residential work, the lesson I come back to most is that proper preparation matters more than rushing to a finished look. Floors show this more than almost anything else in a home. A dip in a slab, a springy board or a damp patch doesn’t disappear under a new floor covering. It tends to show up later as hollow-sounding tiles, cracked grout, gaps, squeaks or lifting edges.
LAYER 02 — THE FLOOR LEDGER
Four things
I check first.
SURFACE
The finished floor is the last layer, not the first decision.
The floor covering you choose matters, but it can only sit as flat and as firm as what’s beneath it. We talk about the finish once we both know what it will be laid over.
BED
Levelling is where flat floors are made.
Uneven slabs and subfloors are corrected before installation, whether that means taking down high spots, filling low areas or using a levelling compound where it suits the conditions. I check with a straightedge and a level across the whole room, not just by eye.
SUBSTRATE
Slab or subfloor, it has to be sound and dry.
On concrete, I look for cracks, old adhesive and anything that will stop a new floor bonding. On timber subfloors, I check for movement, loose or damaged sheets and anything that flexes underfoot. I check for moisture too, because damp trapped under a new floor is a common reason for early failure.
ASSESSMENT
Nothing is decided before the site visit.
The right method, materials and scope depend on your property’s existing condition and the results of an on-site assessment. We work that out together at the free site visit.
LAYER 03 — THE WORK ITSELF
What a flooring job
can include.
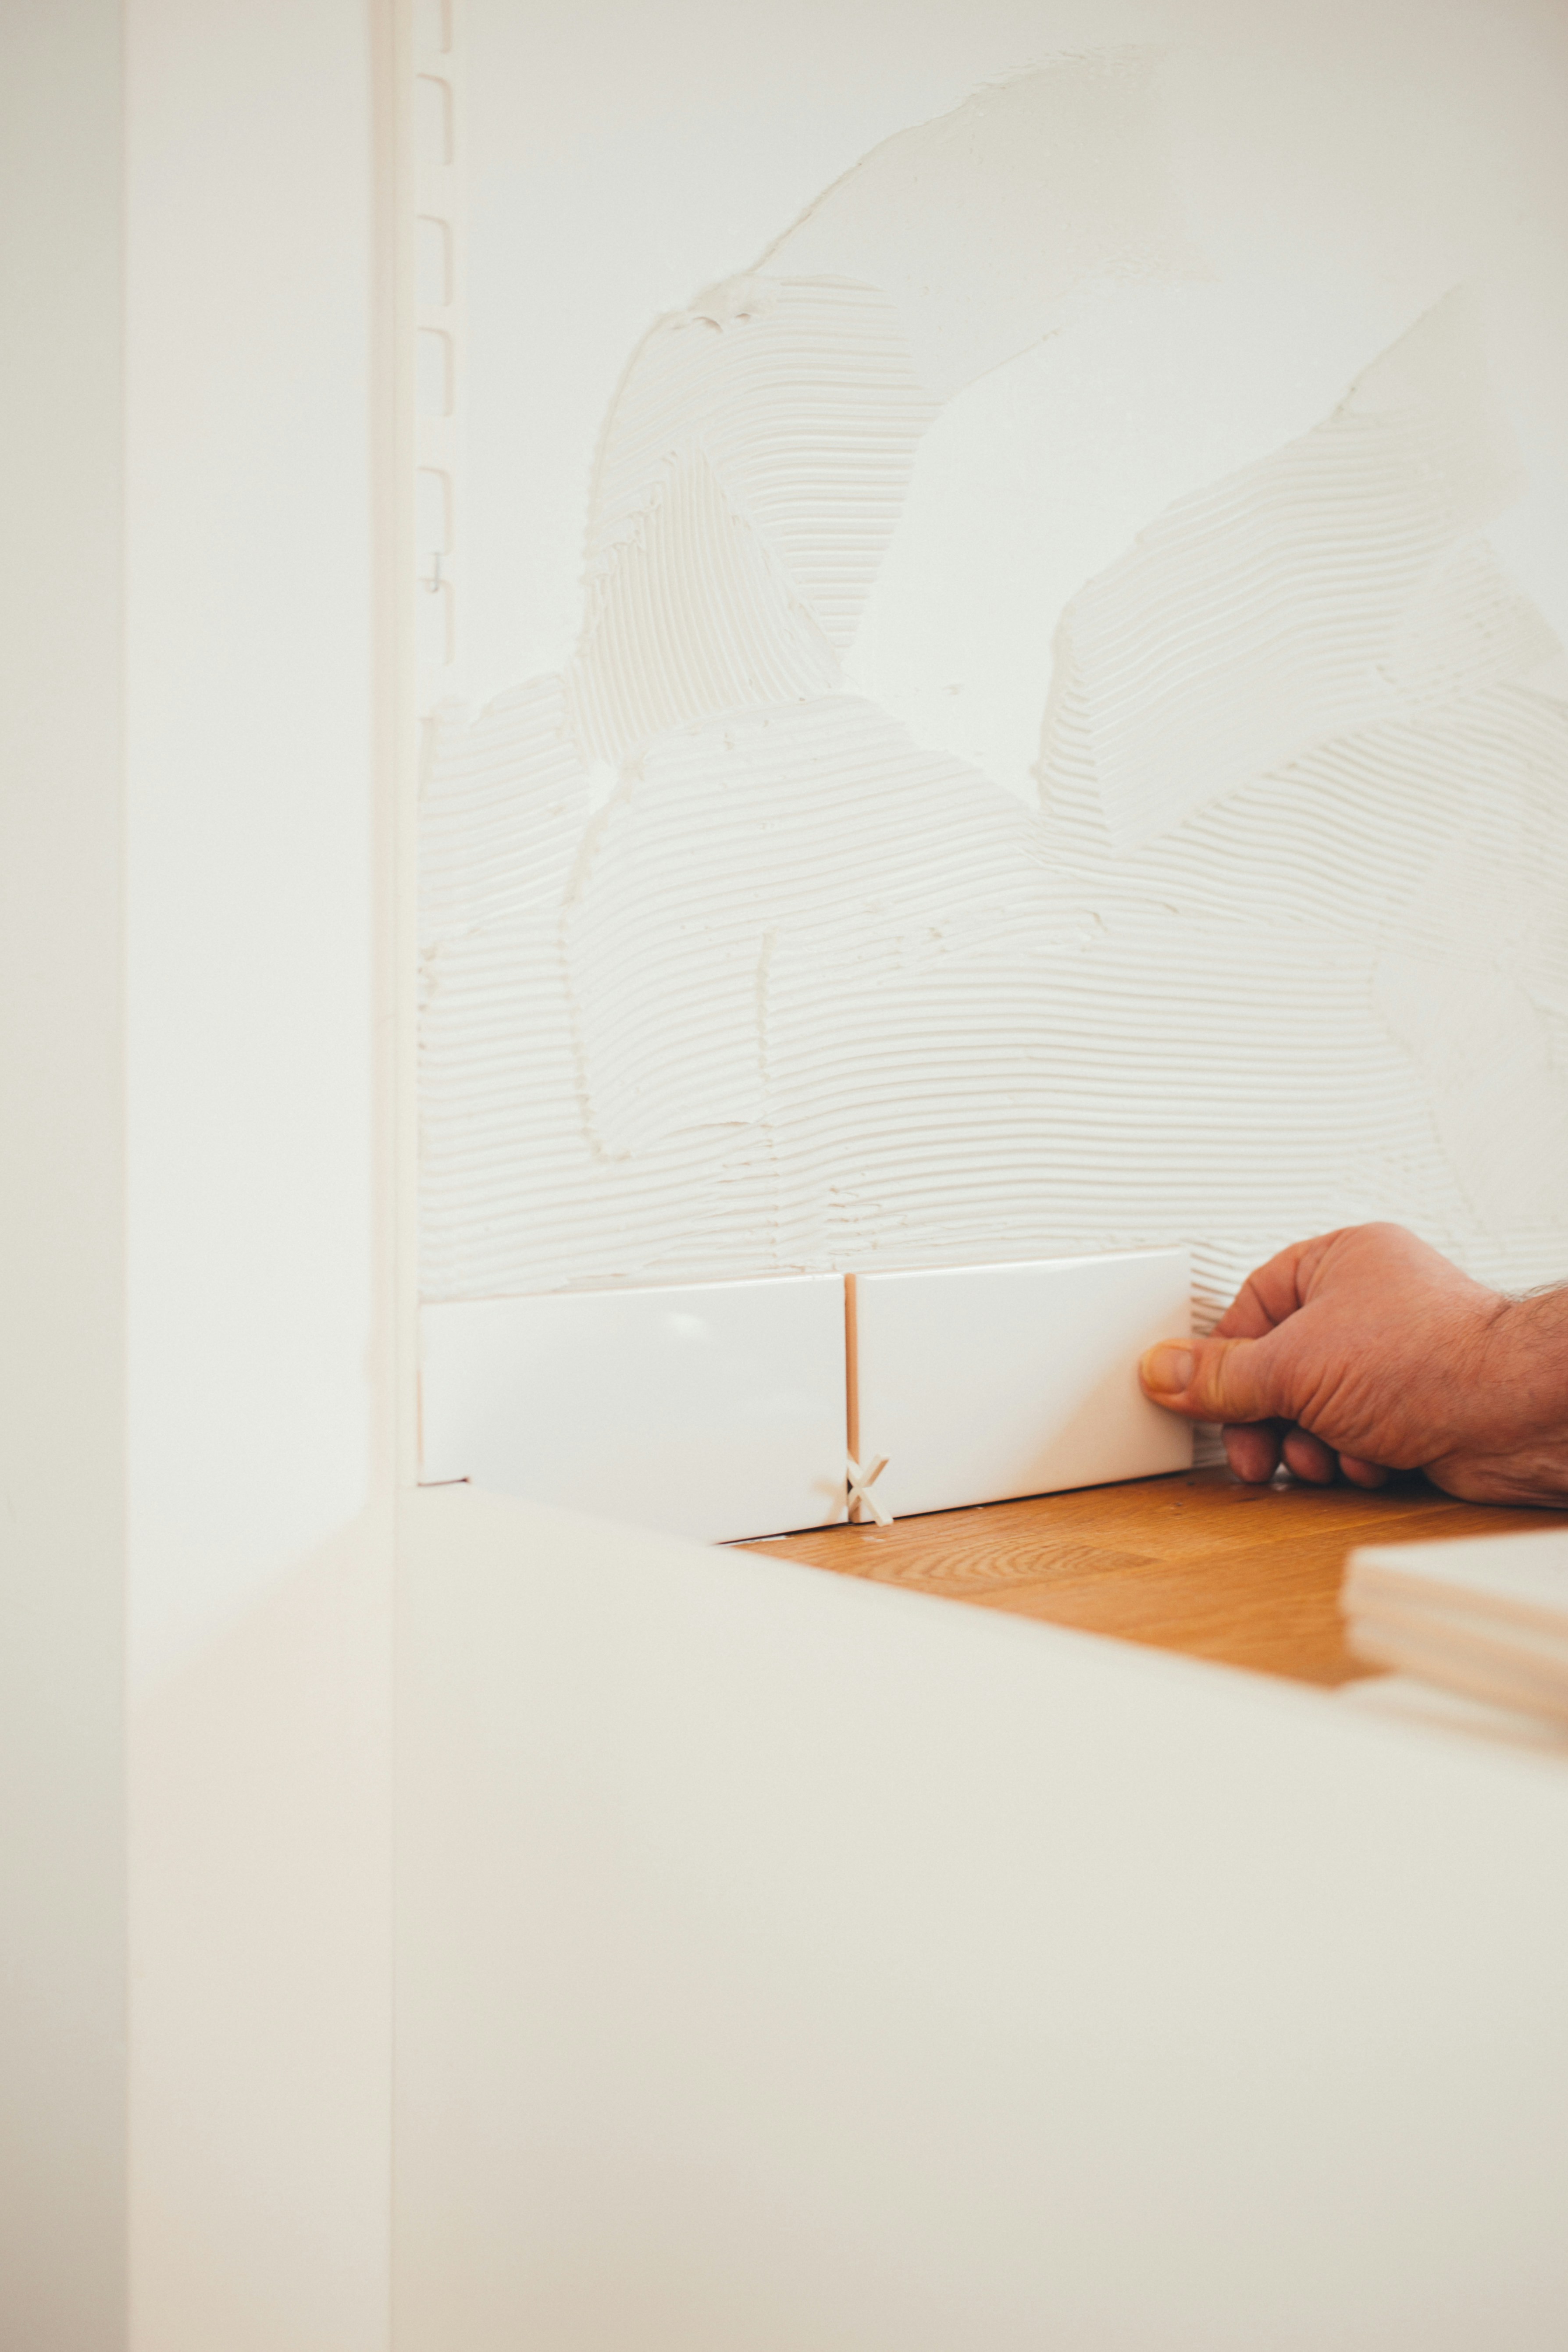
— Slab and subfloor preparation and repairs
— Levelling before installation
— Floor tiling, covered in detail on the tiling page
— Installing other floor coverings agreed at the assessment
— Neat finishing at doorways, edges and transitions
LAYER 04 — YOUR FREE QUOTE
Start with a few
photos of the floor.
WHAT TO PHOTOGRAPH
02 Close-ups of cracks, dips or lifting areas
03 Doorways where the floor meets other rooms
04 Any staining, damp marks or soft spots
GOOD TO KNOW
Melbourne and surrounding suburbs.
Quotes are based on the agreed scope and the conditions reasonably identifiable during inspection.